Quickstart
Set up your organization, connect your sources, and see Modem in action
Onboarding walks you through seven short steps: Set up, About, Agent, Data Sources, Ship, Automate, and MCP. The whole process takes about five minutes.
Joining a team that already uses Modem? See Joining an Existing Team instead.
Prerequisites
- A Modem account (sign up here if you haven’t already)
- Access to at least one place your users talk, such as Slack, Discord, Microsoft Teams, a support desk like Intercom or Zendesk, a call recorder, X, or email. You can skip this during onboarding and connect a source later.
Step 1: Set Up Your Organization
Your organization is the workspace where your data sources, team members, and settings live.
Sign in to Modem
Create an organization
Enter an organization name (usually your company or product name), a URL slug, and your company’s domain, then accept the Terms of Service. The domain is required and must be a work domain, not a free email provider. Modem prefills it from your work email when it can.
Step 2: Tell Modem About Your Company
On the About step, Modem uses your domain to draft a description of your company and product. Review and edit it, then continue. If Modem couldn’t draft one, write a short description yourself; you can’t continue without one.
Modem uses this description to interpret customer conversations and decide which topics relate to your product.
Step 3: Connect the Agent
On the Agent step, pick where your team will talk to Modem: Slack or Discord. After you connect, choose a default channel. Briefings, alerts, and automation updates go there unless you pick a different destination for an automation.
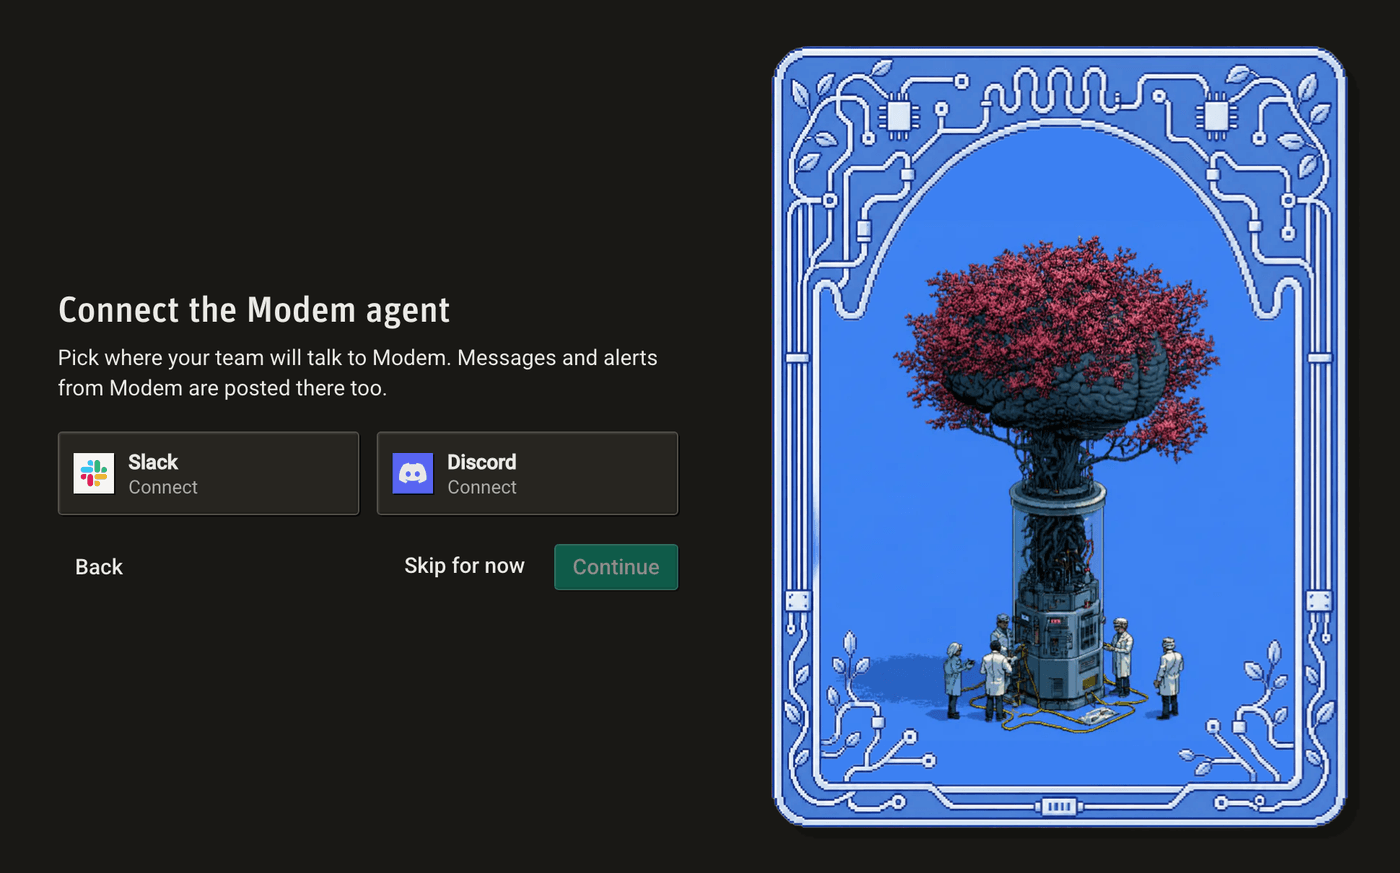
You can skip this step. What happens then depends on your setup:
- If your organization already has a default destination, Modem keeps it.
- If Slack is connected, Modem creates
#modem-updates, adds you to it, and posts there. - Otherwise, messages and alerts are sent to your email until you choose a Slack or Discord channel in Settings.
You can’t reach the later steps until you connect Slack or Discord here or skip.
Step 4: Connect a Data Source
Next, connect a data source. Start with wherever your users communicate most. The Data Sources step groups them like this:
| Group | Sources |
|---|---|
| Chat | Slack, Discord, Microsoft Teams |
| Support desks | Intercom, Zendesk, Jira Service Desk, Plain, Pylon, Canny, Email |
| Calls and social | Gong, Fathom, X |
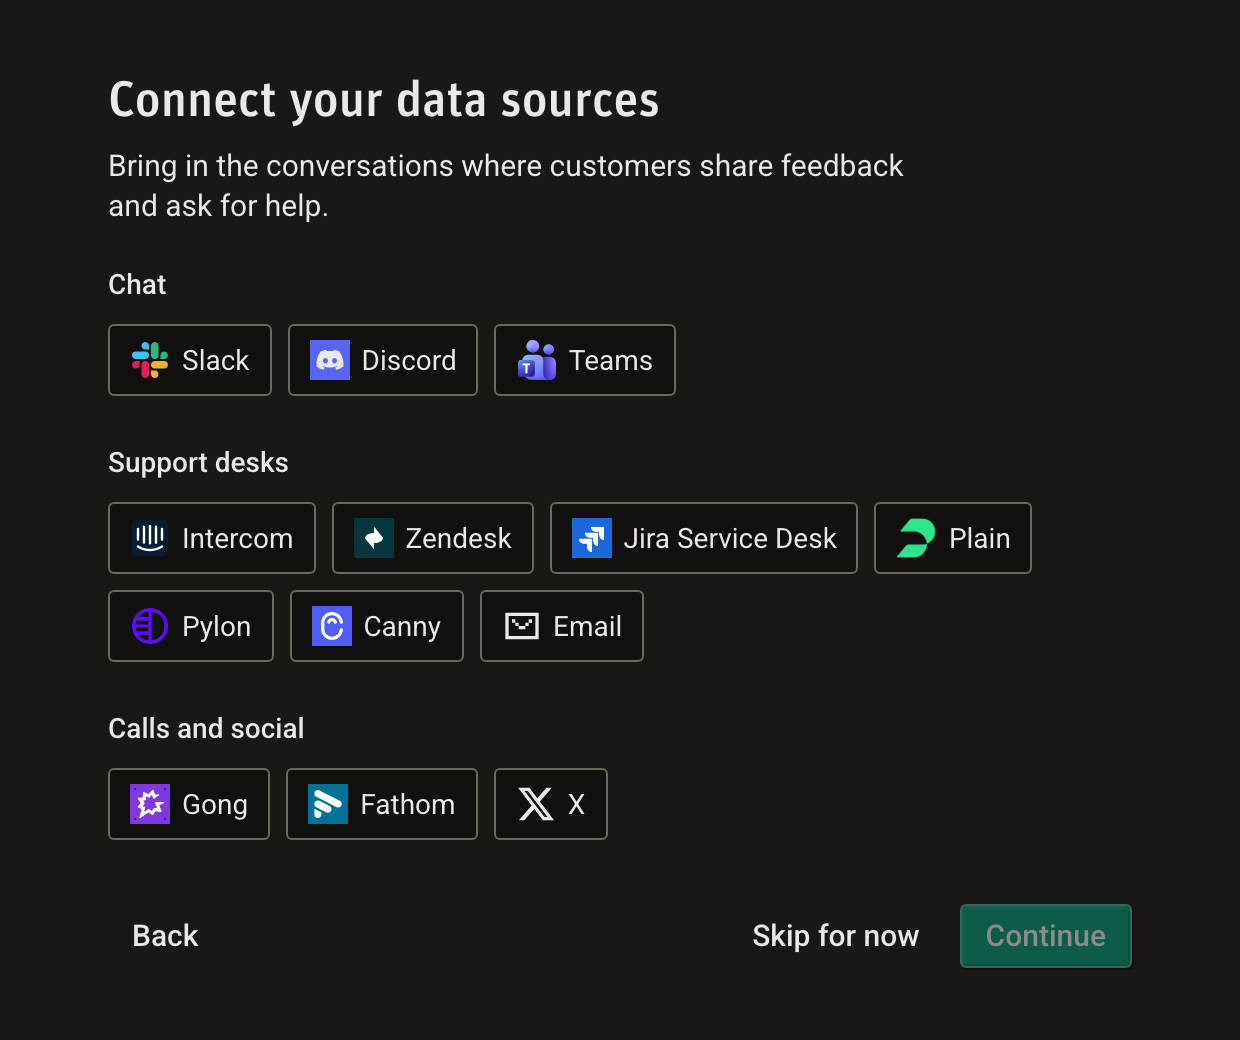
How you connect depends on the source:
| Source | How you connect |
|---|---|
| Canny | Enter an API key |
| Discord | Authorize Modem with OAuth |
| Forward customer email to an address Modem gives you | |
| Fathom | Authorize Modem with OAuth |
| Gong | Authorize Modem with OAuth |
| Intercom | Authorize Modem with OAuth |
| Jira Service Desk | Authorize Modem with OAuth |
| Microsoft Teams | A Microsoft 365 admin approves Modem in Microsoft |
| Plain | Enter an API key |
| Pylon | Enter an API key |
| Slack | Authorize Modem with OAuth |
| X | Authorize Modem with OAuth |
| Zendesk | Authorize Modem with OAuth |
Two sources depend on your plan: X needs the Startup plan or above, and Gong needs Scale. A trial includes both. On a plan without them, their cards are greyed out.
After connecting Slack or Discord, you’ll select which channels Modem should monitor. See Integrations for setup details on each source.
You can skip this step, but Modem builds its knowledge from your conversation data, so you won’t see topics until you connect a source.
Step 5: Connect Your Code and Issues
On the Ship step, connect GitHub, GitLab, Linear, Jira, or Sentry so Modem can link feedback to what your team is building. For GitHub you choose which repositories to share, and for Jira you choose which projects.
Jira here means the issue tracker. Jira Service Desk is a data source and belongs on the previous step.
This step is optional. Skip it and connect your tools later from Settings.
Step 6: Review Your Automations
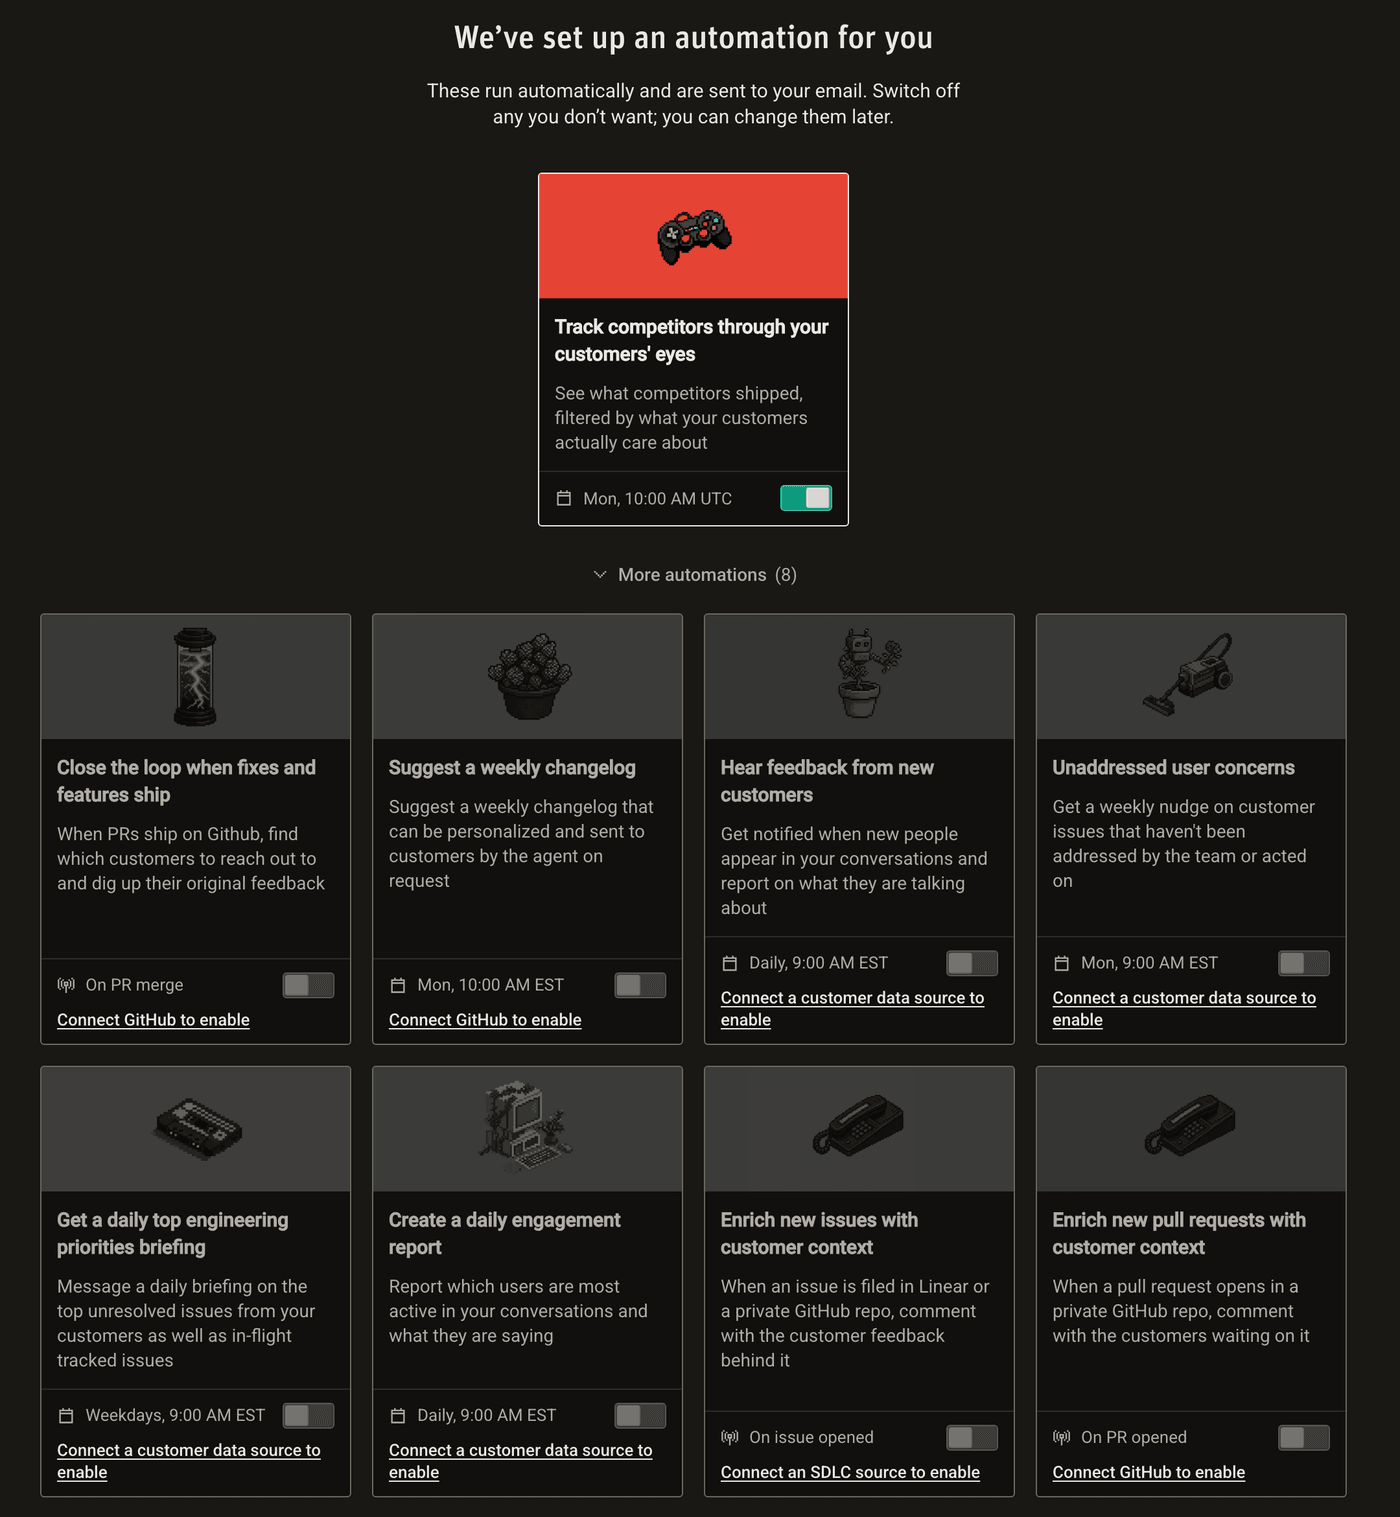
On the Automate step, Modem turns on the automations that fit what you’ve set up. For example, connecting GitHub turns on one that tells you which customers to follow up with when a fix ships, and connecting a data source turns on one that reports on feedback from new customers. Competitor tracking turns on when Modem could look up your company’s domain. Automations post to the default channel you chose on the Agent step, or to your email if you skipped it.
Switch off any you don’t want. The rest sit under More automations: switch them on here, or later in Automations. An automation that needs something you haven’t set up yet links to the step that sets it up, such as Connect GitHub to enable. The two that comment on new issues and pull requests in your own GitHub or Linear never turn on by themselves.
Step 7: Add Modem to Your AI Client
The last step, MCP, connects your AI client to Modem so it can read your customer data and use Modem’s tools. It’s optional. Click Get Started to finish onboarding and open the dashboard. To set it up later, see Modem MCP Server.
Explore Your Data
Once a source is connected, data starts appearing in your account within about a minute and keeps streaming in from there. Here’s what you’ll find in the dashboard:
- Topics. AI-discovered subjects your users are talking about. Modem groups related messages into topics, even across different channels and platforms.
- People. Everyone who’s interacted across your connected sources, with their feedback history, engagement patterns, and associated companies.
- Companies. Organizations identified from your connected sources, with aggregated feedback and engagement across their people.
Use the Agent
The Modem Agent lets you explore your data and take action using natural language. Open it from the dashboard, or mention @Modem in Slack, Discord, or Microsoft Teams. In Slack you can also send it a DM.
It can create tickets, delegate tasks to coding agents, set up automations, draft release notes, and more. See The Modem Agent for the full list of capabilities.
Joining an Existing Team
When you accept an invitation, Modem skips organization setup and walks you through a shorter, personal onboarding:
- Welcome. A quick overview of what Modem does.
- Your workspace. The tools your team has already connected.
- Team chat. Link your Slack, Discord, or Microsoft Teams account so Modem knows it’s you, then mention
@Modemto talk to the agent there. - AI tools. Connect your own AI client to Modem over MCP.
- Automations. Choose optional automations to add.
See Team Management for how invitations and roles work.